Learn · Updated
How to Make a Music Visualiser Video
Short answer: To make a music visualiser video, export a high-quality audio master, choose a visualiser tool that suits your platform and budget, add artwork and a visual style, render at the platform's resolution and frame rate, and upload as MP4.
A music visualiser video is the quickest way to give a track a visual identity for YouTube or social media. The process is the same whichever tool you use.
1. Decide where it will be published
The platform decides the shape of the video:
- YouTube: landscape 16:9, full track, 1080p or 4K.
- TikTok, Reels, Shorts: vertical 9:16, a short hook.
- Spotify Canvas: a 3–8 second vertical loop.
See music visualiser video sizes for details. If you need several formats, choose a tool that exports both orientations from one project.
2. Prepare the audio
- Export the final master as WAV or high-bitrate audio. Visualisers react to what is in the file, so a loud, finished master produces livelier motion than a quiet rough mix.
- For short clips, choose the section first, such as the chorus or drop, and trim with a short fade.
3. Prepare artwork
- Use the release artwork at high resolution (at least 3000×3000 for cover art is common).
- A clean background image or loop makes the visualiser easier to read than a busy photo.
- Add a logo or artist name only if the platform does not already show it.
4. Choose a tool
| You want | Consider |
|---|---|
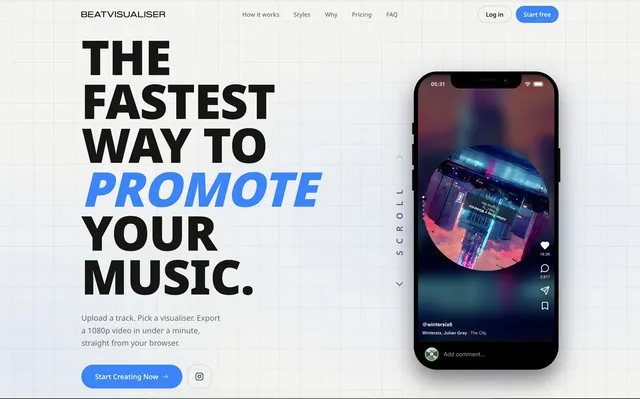
| A quick, clean video in the browser | BeatVisualiser, Specterr, Vizzy |
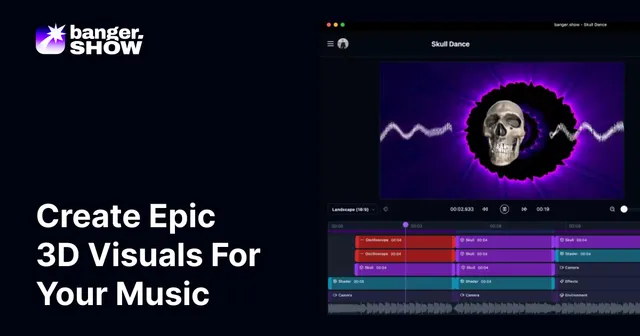
| A 3D scene or Spotify Canvas | Banger.Show |
| A free option | musicvid.org, SpinningVinyl |
| To stay inside your DAW | ZGameEditor Visualizer (FL Studio), Videosync (Ableton Live) |
| Full creative control | Magic Music Visuals, TouchDesigner, After Effects with Sound Keys |
| Generated, non-literal imagery | AI music video generators |
| To make it on your phone | Spectra (iOS), Avee Player (Android) |
Check before committing: watermarks on free plans, maximum length, export resolution and frame rate, and whether rendering is local or cloud.
5. Design the visual
- Pick one main element: a spectrum, waveform, record or scene. Combining too many reduces readability on small screens.
- Match the genre: tight bars and fast reactions for electronic music; slower, smoother motion for ambient; a spinning record for a classic release feel.
- Tune sensitivity: if the visual barely moves, increase gain or narrow the frequency range it follows; if it jitters, increase smoothing.
- Keep text in safe areas for vertical platforms.
- Check contrast: the visual should read against the background at phone size.
6. Render and check
Preview the full video before uploading. Look for:
- sync problems at the start (a few frames of offset is easy to miss in preview);
- compression artefacts in fine particles or gradients;
- audio quality: listen through to confirm nothing was clipped or downsampled.
Export MP4 (H.264 video, AAC audio) unless the platform recommends otherwise.
7. Upload
Add a clear title, the artist and track name, and links in the description. For YouTube, a custom thumbnail with the artwork tends to perform better than an auto-selected frame of moving bars.
Browse more options: visualisers for YouTube music videos, for Reels and TikTok, or all visualisers.
Frequently asked questions
Can I make a music visualiser video for free?
Yes. Free options include musicvid.org (open source), SpinningVinyl for spinning record clips, and free plans from several browser tools, which typically limit resolution, length or add a watermark. FL Studio users already have ZGameEditor Visualizer.
How long does it take to render a visualiser video?
It depends on the tool, resolution and length. Simple browser renders of a short clip can take under a minute; a full-length 4K render with complex 3D effects can take much longer.